Published: 18 July, 2024
- Share
-

-

-

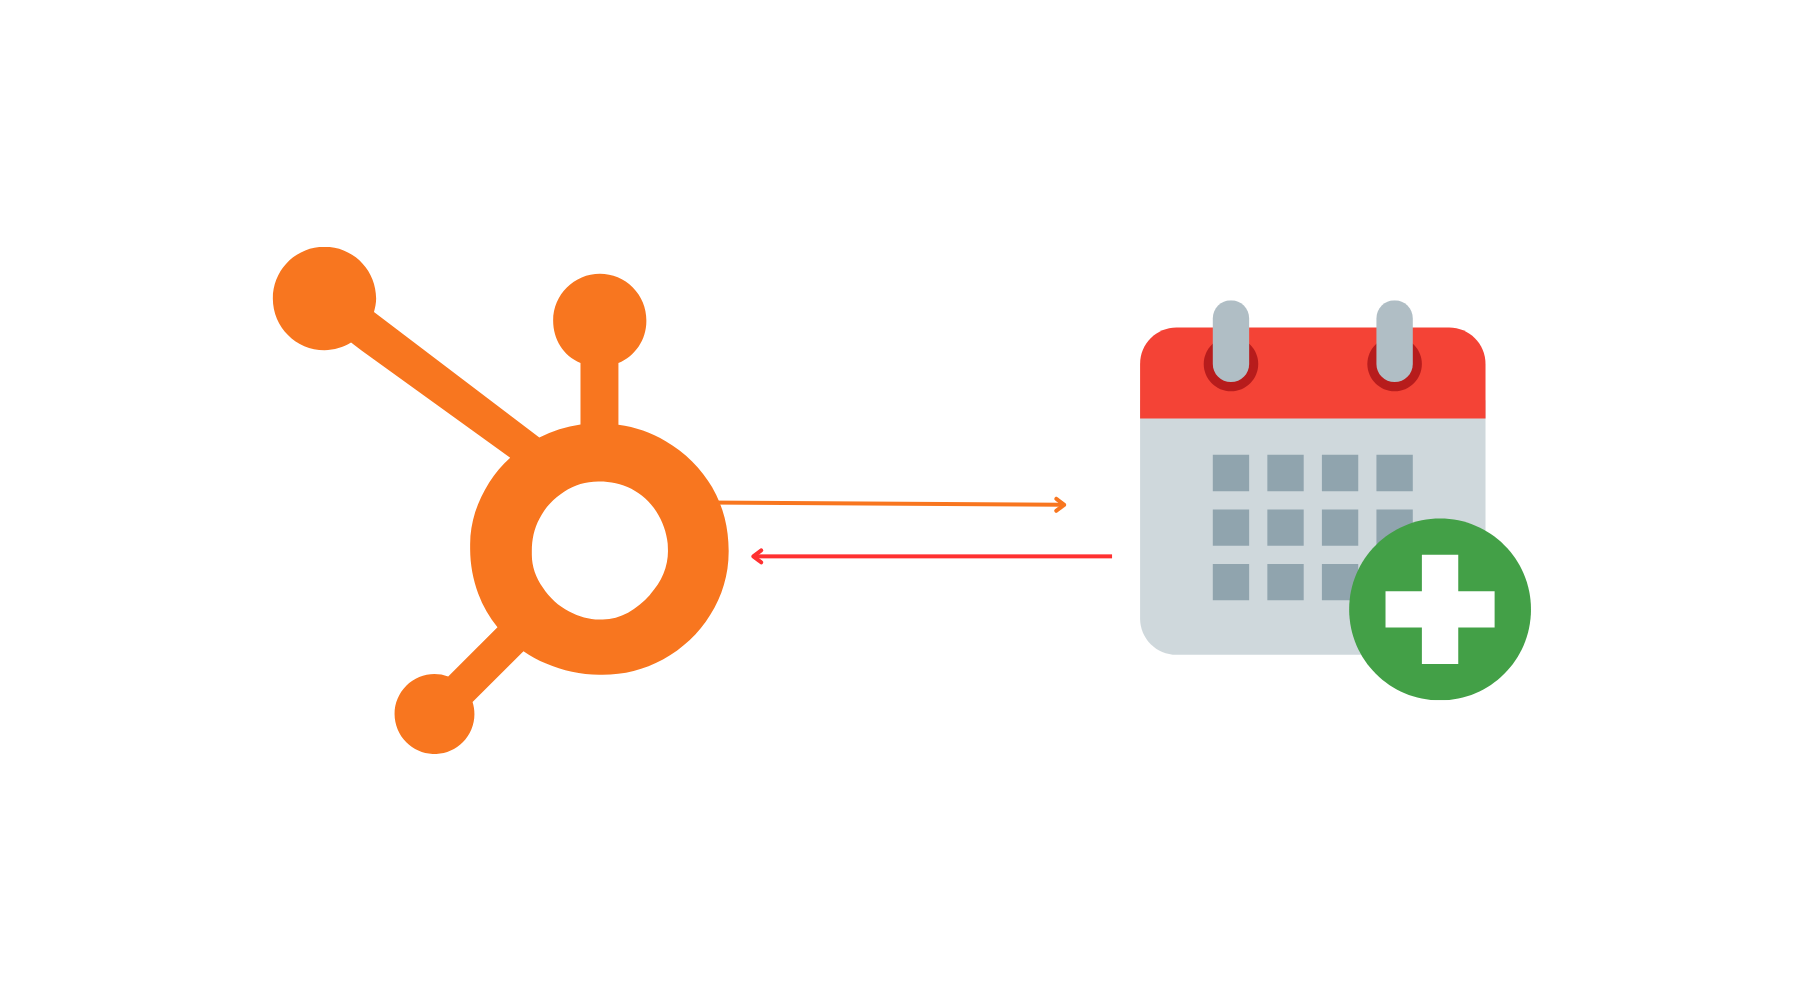
Keeping your audience engaged and informed about your events is crucial for successful marketing. Adding calendar invites to your emails and forms ensures your contacts can easily add your events to their personal calendars, increasing the likelihood of attendance. Here's how you can add calendar invites for Google Calendar, Outlook, and Apple Calendar to your HubSpot marketing emails and forms.
Google Calendar Invite
*The Google calendar you use to create your invite must be public for the link to be accessible to your email recipients.
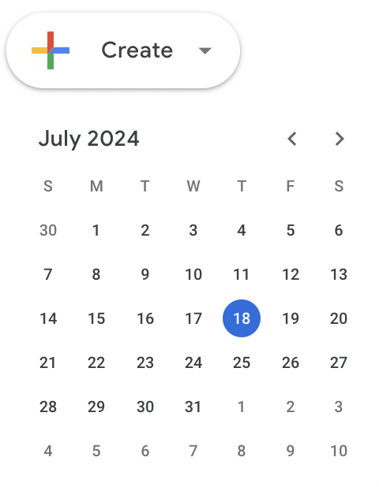
Create Your Event in Google Calendar
- Open Google Calendar in your browser.
- Click Create in the upper left.
- Fill in the event details and click Save.
Publish Your Event
- Open the event in Google Calendar.
- Click the More actions dropdown menu in the upper right and select Publish Event.
- Copy the link next to Link to Event and paste it into a text editor for easy access.
Add the Event to Your HubSpot Email:
- In your HubSpot account, navigate to Marketing > Marketing Email.
- Hover over the email you want to update and click Edit.
- Insert an image or type the text that you'd like the recipient to click on to add the event to their calendar.
- Click on the inserted image or highlight the text, then click the link icon in the rich text toolbar.
- Paste the URL you copied from the Google Calendar event into the URL field.
- Click Add Link.
Outlook Calendar Invite
Note: These steps pertain to classic Outlook for Windows. For the web version or new Outlook for Windows, refer to Microsoft Support.
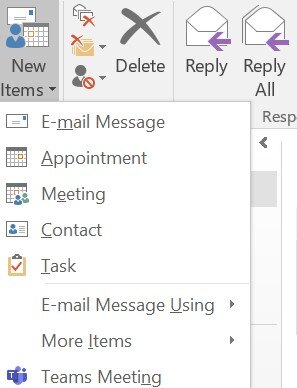
Create Your Event in Outlook
- Open your Outlook calendar.
- Click New Appointment or select New Items > Appointment.
- Set up the event details (name, location, time, description, etc.).
- Click Save and Close.
Create an .ics File
- Find the event on your Outlook calendar.
- For classic Outlook for Windows, click the appointment, then the down arrow below the Forward button, and select Forward as iCalendar. Right-click the attached iCalendar and save it to your desktop.
- For Outlook for Mac, drag and drop the event out of the calendar and onto your desktop to create an .ics file.
Add the .ics File to Your HubSpot Email
- In your HubSpot account, navigate to Library > Files.
- Click Upload Files and select the .ics file from your computer.
- Once uploaded, click the file name and copy the URL.
- Go to Marketing > Marketing Email.
- Hover over the email you want to update and click Edit.
- Insert an image or type the text that you'd like the recipient to click on to add the event to their calendar.
- Click on the inserted image or highlight the text, then click the link icon in the rich text toolbar.
- Paste the .ics file's URL into the URL field.
- Click Add Link.
Apple Calendar Invite
Create Your Event in Apple Calendar
- Open Apple Calendar and click the + button in the top left corner.
- Enter the event name and press Enter. Click on the event to add additional details.
- Click Done to save the event.
Create an .ics File
- Click and hold on the event in Apple Calendar, then drag and drop it onto your desktop to create an .ics file.
Add the .ics File to Your HubSpot Email
- In your HubSpot account, navigate to Library > Files.
- Click Upload File and select the .ics file from your computer.
- Once uploaded, click the file name and copy the URL.
- Go to Marketing > Marketing Email.
- Hover over the email you want to update and click Edit.
- Insert an image or type the text that you'd like the recipient to click on to add the event to their calendar.
- Click on the inserted image or highlight the text, then click the link icon in the rich text toolbar.
- Paste the .ics file's URL into the URL field.
- Click Add Link.
Add the Calendar Link to Your HubSpot Form
- In your HubSpot account, navigate to Marketing > Forms.
- Create a new form or edit an existing one.
- Navigate to Options.
- Select Thank You Message.
- Insert the image or type the text that you'd like the recipient to click on to add the event to their calendar.
- Click on the inserted image or highlight the text, then click the link icon in the rich text toolbar.
- Paste the URL you copied from the Google Calendar, Outlook Calendar, or Apple Calendar event into the URL field.
- Click Add Link.
Incorporating calendar invites into your HubSpot marketing emails and forms improves the likelihood of attendance and ensures a smoother experience for your audience. By following these steps, you can easily add calendar invites for Google, Outlook, and Apple Calendars, enhancing your event management strategy.
Are you interested in learning more? Contact us at CRO:NYX Digital, we're here to help you understand and leverage the potential of HubSpot to benefit your business.

Other posts you may be interested in

How a HubSpot Stripe Integration Can Streamline Your Payment Process

How a HubSpot Slack Integration Can Boost Productivity for Your Team

HubSpot Google Ads Integration: How to Get the Most Out of Your Connection

.png)
.png)